
Have you ever wondered if there was a way to automatically cut up a video instead of going through and manually adding edit points? Or have you lost a project file but still have the master file and need to cut it up again?
Well your luck is in!
There is a hidden feature inside DaVinci Resolve called ‘Scene Cut Detection’ and it does exactly that.
The tool analyses footage and using differences in contrast it adds cut points which you can then add to a timeline and export a .xml file to bring in to other NLEs.
Watch the video above for a visual example of how it works.
How do I know what I’m talking about? Head to the DigiProTips Experience and Background page to find out how I’ve built up my knowledge over a career spanning feature film, broadcast TV and digital content production.
How can I take advantage of this?
DISCLAIMER: This post may contain affiliate links. We make a small commission if you buy the products from these links (at no extra cost to you). As a ToolFarm Associate, I earn from qualifying purchases. But we only recommend products we would use ourselves. For more information, click here to see our disclosures.
First of all, you need to have DaVinci Resolve. This feature is available in the Lite version (at the time of writing) but as Blackmagic start to overtake in the NLE space the Studio version of DaVinci is starting to become an attractive option for editors due to it’s all-encompassing tools, audio editing, video editing, FX studio and powerful colour grading facilities.
For $295, and no monthly subscriptions, that is a very good price considering everything that the software has to offer!

DaVinci Resolve offers a comprehensive editing experience by combining different editors in one platform. You get full-featured advanced solutions for video editing, color correction, visual effects, motion graphics, and audio post-production.
Now that you’ve got DaVinci Resolve Studio installed we’ll briefly run you through the process here.
First off, start Resolve and head to the ‘Media’ tab at the bottom of the screen. Using the left hand destination browser head to where your media is located.
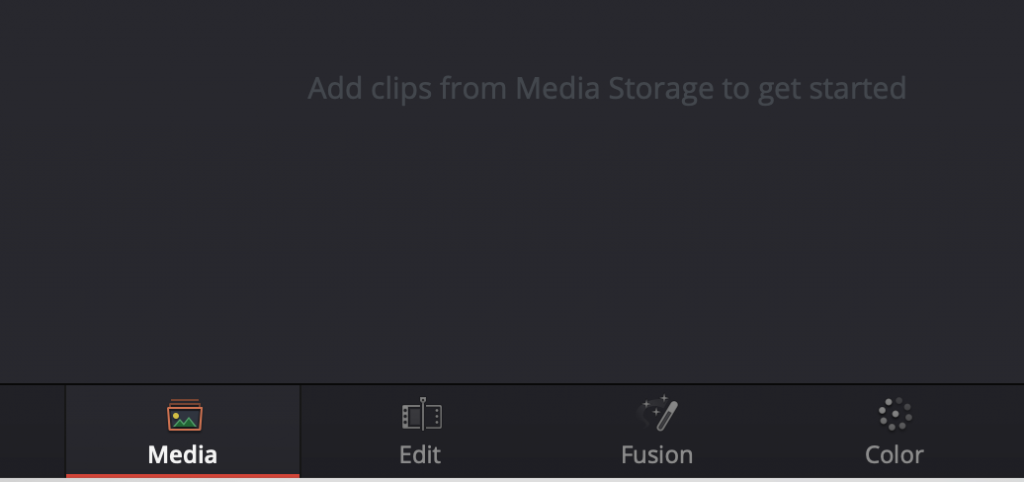
Note. The scene cut detection tool is only available in this tab.
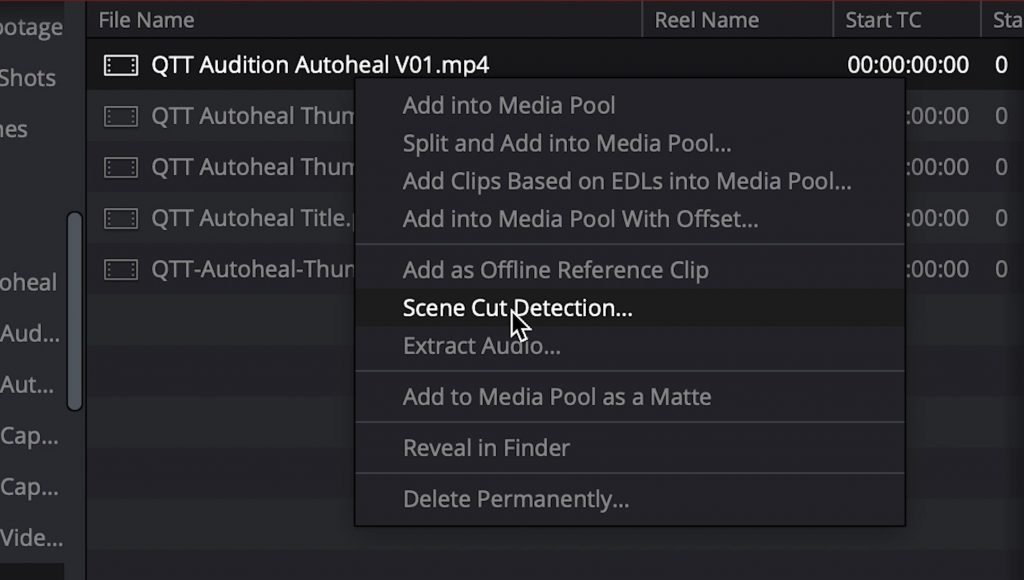
Once you have found your media you need to right click on it and choose ‘Scene Cut Detection’.
This will start a new UI window with the tool. It will show three reference panels at the top and a threshold bar underneath.
The bar can be moved up or down to change the threshold with which the tool will add a cut point based on contrast changes it finds.
It’s worth noting that the tool works well with well-lit and easily discernible cut points but will not work very well with dark footage where there isn’t a clear change in contrast between shots in your edit.
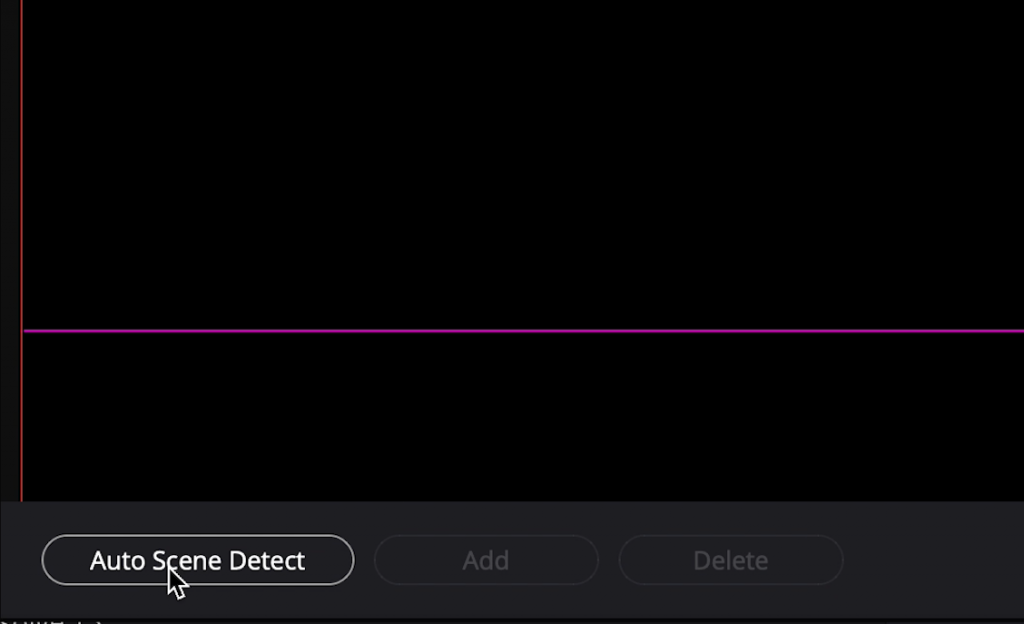
Once you have set your threshold you can hit ‘Auto Scene Detect’ at the bottom left of the UI and let it run through your footage adding cut points.

After the tool has finished its analysis you will see a list of cut point timecodes on the right hand side of the panel. You can just hit ‘add cuts to media pool’ at the bottom right and then close out of the UI.
Great, now what?
From here we have only a couple more steps.
Head to the ‘Edit’ tab at the bottom of Resolve and grab all of your new media in your media pool by pressing CMD/CTRL+A. Drag this to the start of your timeline.
From here you simply either edit in Resolve as you usually would OR you can go to File and choose Export XML to export a .xml file for Premiere or Final Cut Pro.
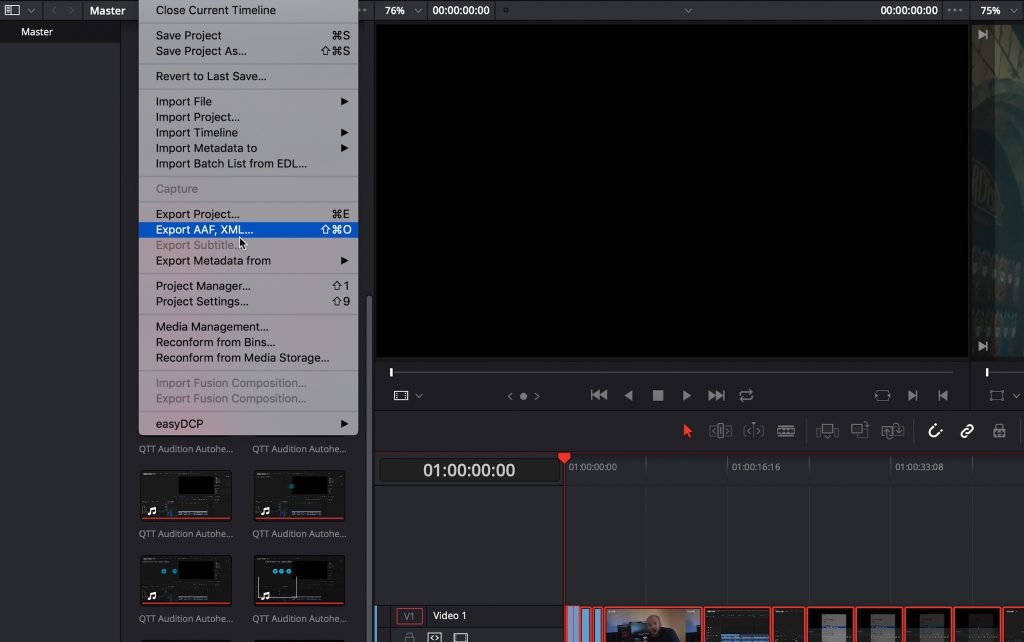
It is important to note that for Premiere Pro users you need to make sure you choose the FCP7XML file type that has a ‘.xml’ extension otherwise you won’t be able to import your cut up timeline into Premiere.
That’s it!
Enjoy all that extra free time you have at your disposal now.
DaVinci Resolve offers a comprehensive editing experience by combining different editors in one platform. You get full-featured advanced solutions for video editing, color correction, visual effects, motion graphics, and audio post-production.
SUBSCRIBE
If you found this video useful and would like to see more then you can subscribe to our channel here: https://digiprotips.com/Subscribe
For extra quick tips like this check out more Quick Tip Tuesday topics here: https://digiprotips.com/category/quick-tip-tuesday/
DigiProTips
Check out how to make Animated Titles in Davince Resolve 16:


Pingback: Making Modern Animated Titles in Davinci Resolve 16 -
Pingback: How to Speed Ramp in DaVinci Resolve -