Cropping videos is an incredibly easy and effective tool that instantly changes your framing and composition of a shot. But how do you do it?
Well, whether you’re on the go, shooting on your phone or editing your footage on a laptop, I’ve got solutions for you. I’ll cover a method for iOS, Android, Mac & PC.
Let’s get straight into it.
How to Crop Videos on iPhone/iOS
All of the methods I am going to show you are fairly simple to grasp but the built-in edit functionality on the iPhone, or any iOS device really, is one of the easiest.
Simply head to your Photos app and navigate to the footage you want to crop. If your footage is stored in your Files app then you will need to save it to Photos first to have the same editing functionality.
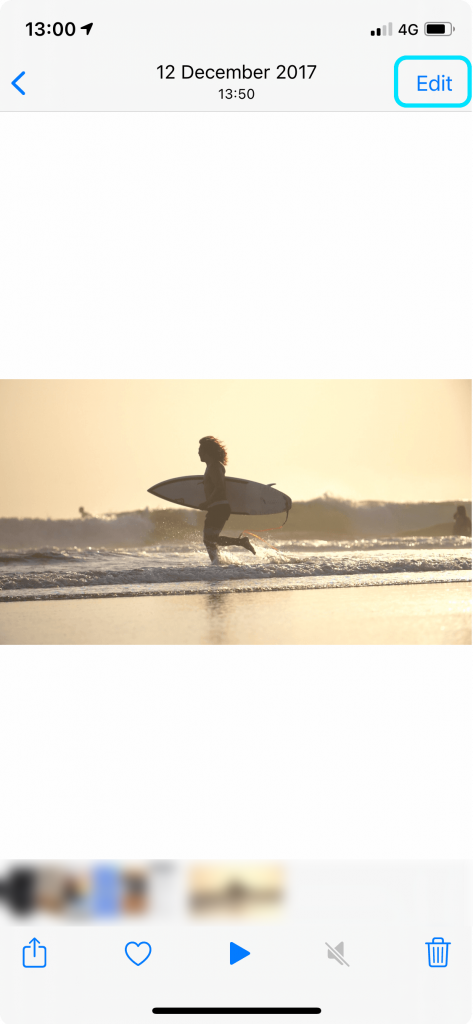
Click to open your video and then click the ‘Edit’ button in the top right corner.
Here you will have a number of options but at the bottom, you will see an icon that looks like a square with arrows going anti-clockwise around it. This is the crop/orientation button and you need to click this.
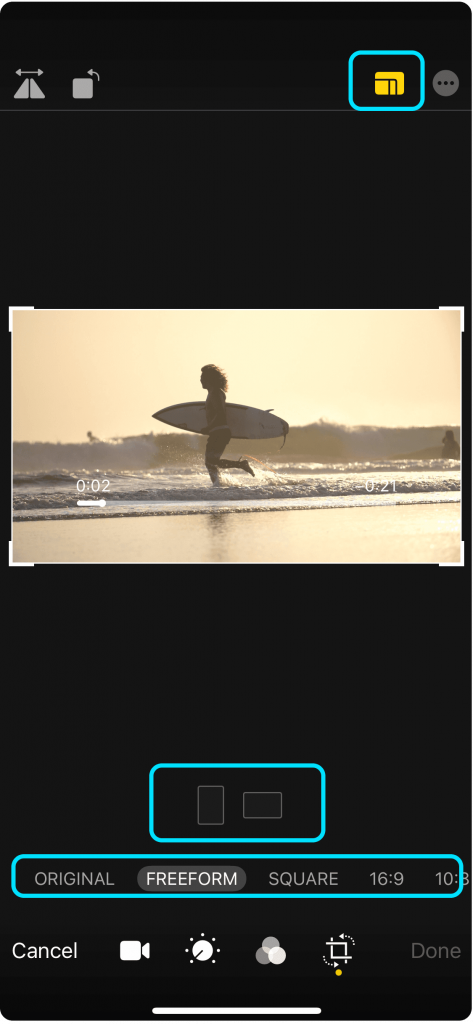
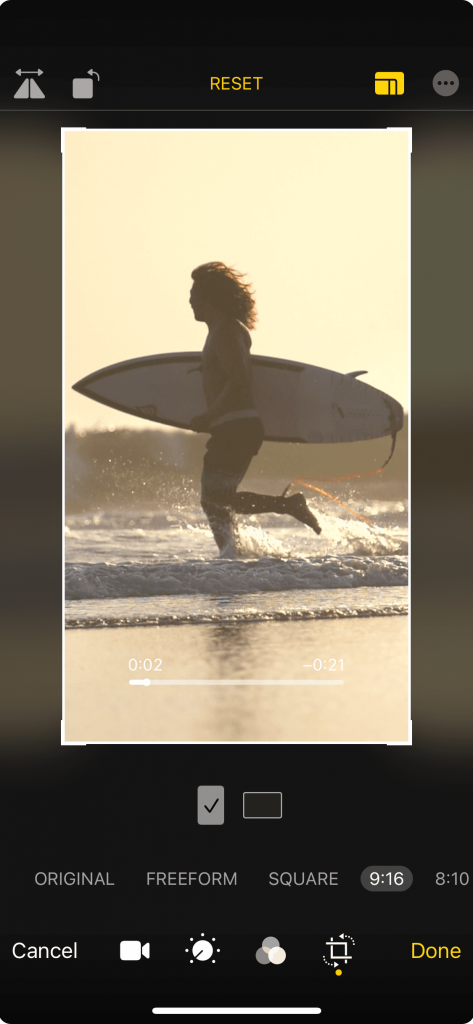
Now you will be presented with options to re-orientate your video but what we want to do is crop it. So click the icon in the top right that has a few different aspect ratios clustered together.
At the bottom, you can now choose between; Original, Freeform, Square, 16:9, 10:8, 7:5, 4:3, 5:3 and 3:2.
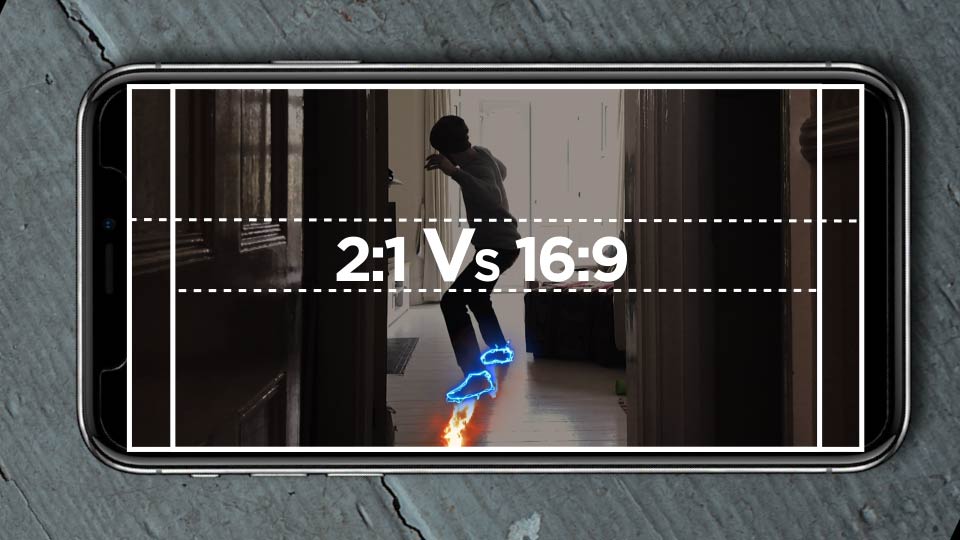
The chances are that one of those aspect ratios will fit your needs. For more on aspect ratios check out this article on what they are and why they are important here.
Once you have chosen an aspect ratio you can scale your footage to fit by pinching and zooming with your fingers. You can also use Freeform to crop it in your own aspect ratio.
When you are happy with your crop click Done in the bottom left and choose to either save it as a new video copy or save over the original.
Your video is now cropped!
How to Crop Videos with Android
Now, as with iPhones and iOS, Androids do have their own features within the gallery section of each phone’s stock apps that you can use to crop videos but they all work slightly differently and to go through them all would take a long time.
Instead, I’m going to show you an app that does it just as well and is available to all Androids. It’s Google Photos.
Download the app from the Play Store if you don’t already have it and then launch it.
Load the video you want to crop and begin the cropping process by clicking ‘Edit’.
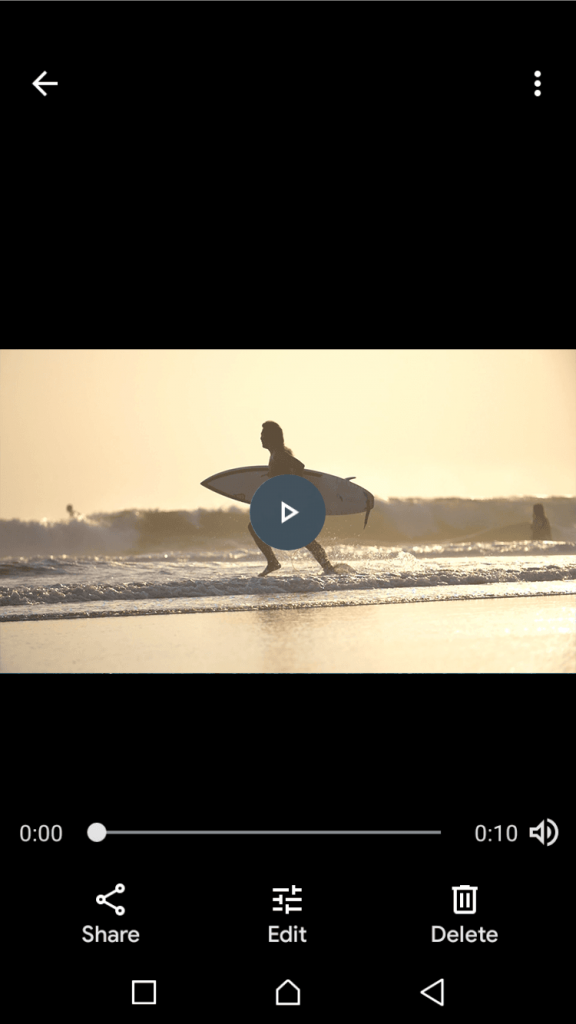
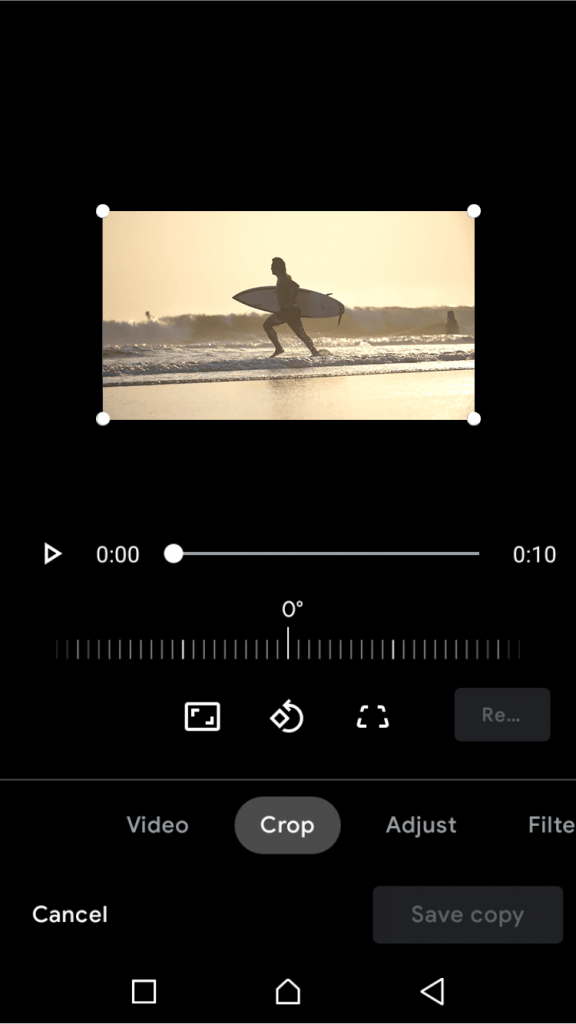
Next, select ‘Crop’ from the bottom options.
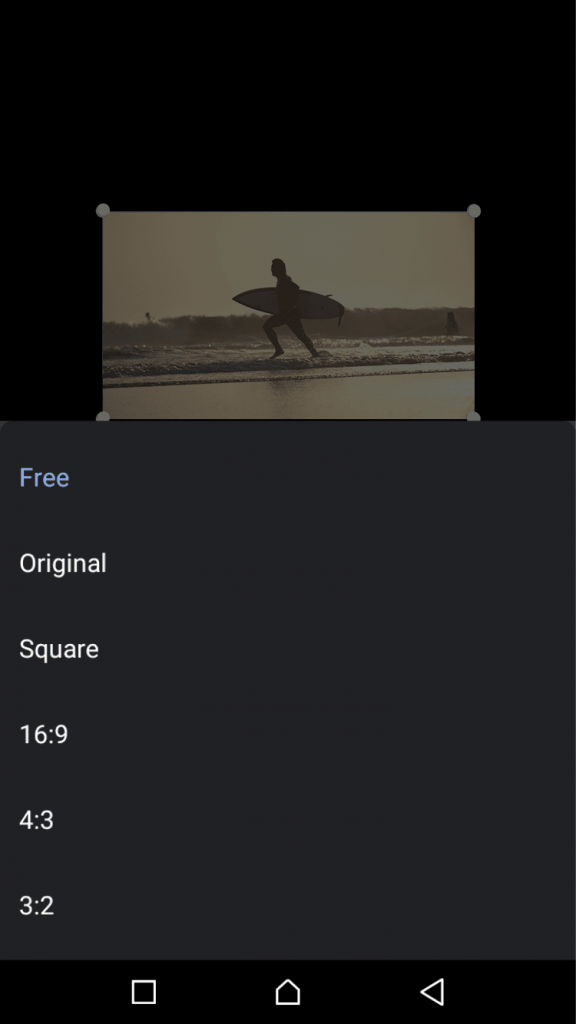
Here you have the option to crop in Free, Square, 16:9, 4:3, or 3:2. So there aren’t as many options but this should cover most users’ needs, especially if you use ‘Free’.
Again, scale and drag your video to where you wish with your fingers to re-compose your shot.
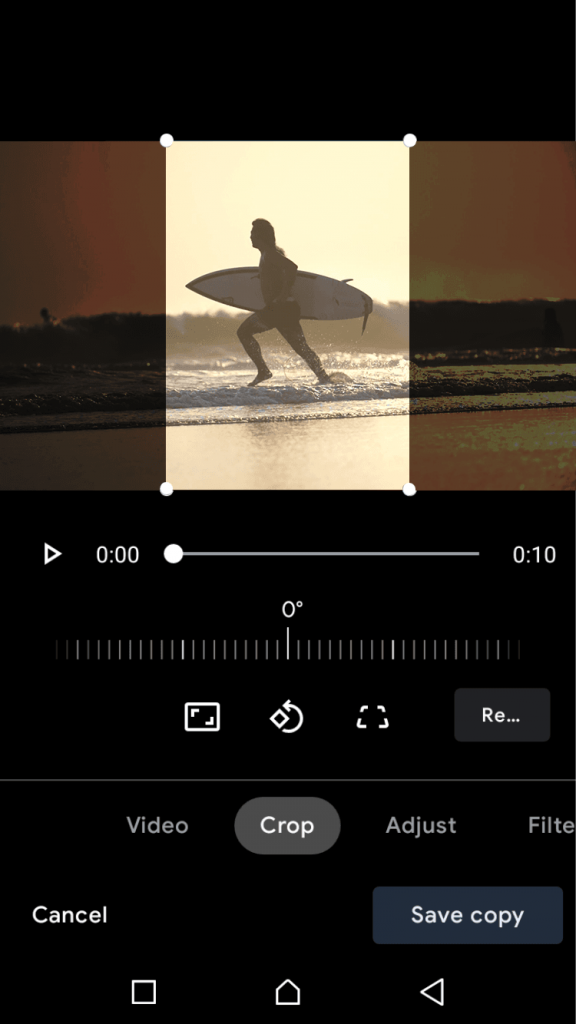
Click on ‘Save Copy’ to save a new copy of the video to your Google Photos app or export it to any destination you please.
And that’s it for Android!
How to Crop Videos on Mac and Windows 10
You could always use Windows Movie Maker on Windows and iMovie for Mac but they are pretty restrictive in terms of aspect ratio. Alternatively, you can use an application that is available for both Windows and Mac and that is VLC.
To crop a video using VLC involves a few more steps but the level of control you get is a lot more advanced than Movie Maker or iMovie.
VLC is an industry-standard video player and video tools open source software these days. If you haven’t already got it installed then go ahead and do that now.
Once installed go ahead and open the application and open your video from its location on your computer.
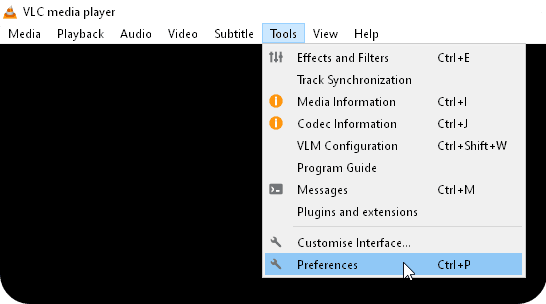
Now head to the Tools menu, and click on “Preferences.”
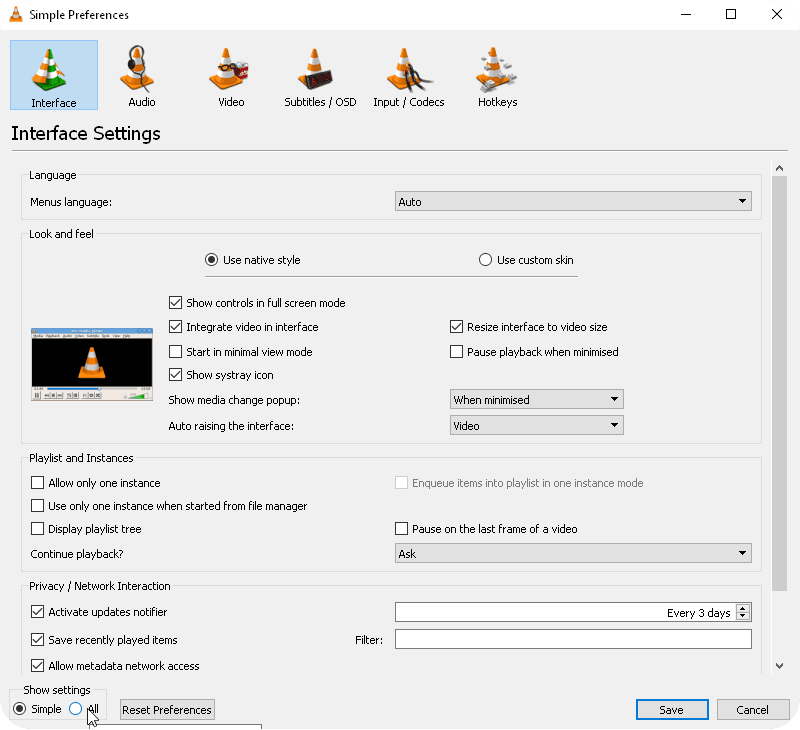
You’ll need to click ‘All’ in the lower left-hand corner under ‘Show Settings’ so that you can see all the available options.
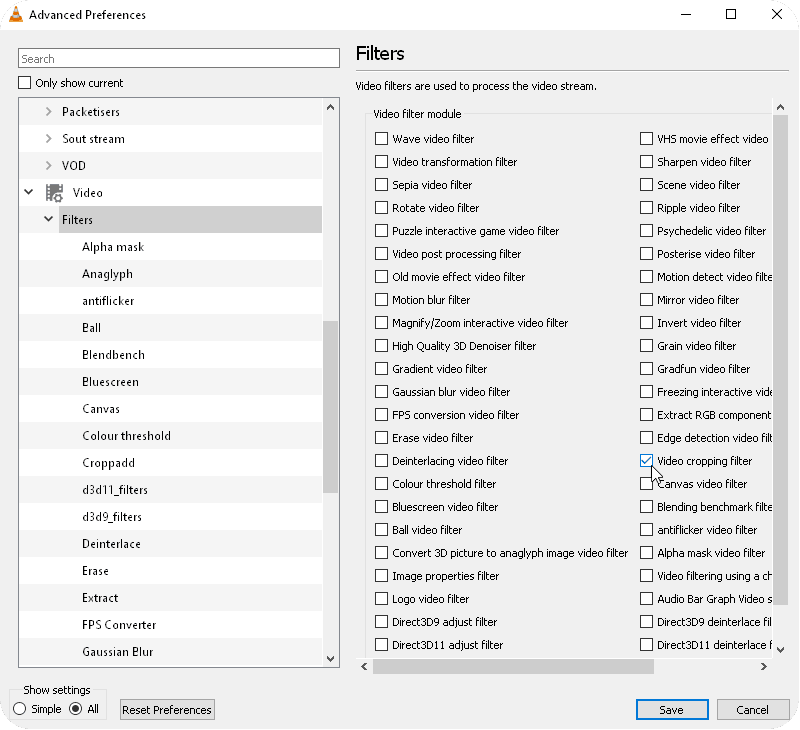
Then scroll down on the left and head to ‘Video’ -> Expand ‘Filters’ -> ‘Croppadd’.
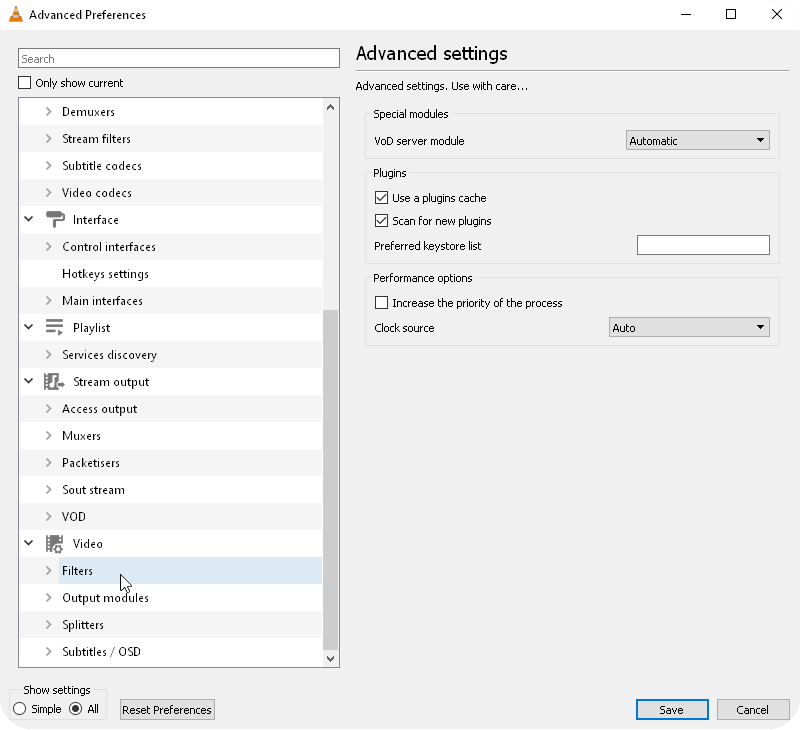
Here you get the option to crop or padd. It’s a little different from the methods above where you have a clickable selection area to drag your crop range and instead in VLC you add the amount of pixels you want to crop by for top/bottom/left/right.

Once you have set the amount of pixels to crop by head back to Video->Filters (click on the word ‘Filters) and then make sure ‘Video Cropping Filter’ is ticked. Now you can ‘Save’ to ensure your crop filter is added to your video in the player.
Next, we need to export the cropped video from VLC.
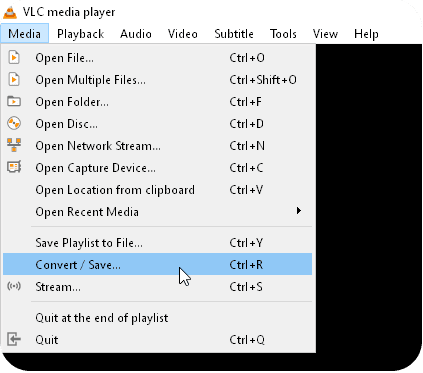
From the main menu bar click Media and then ‘Convert/Save’.
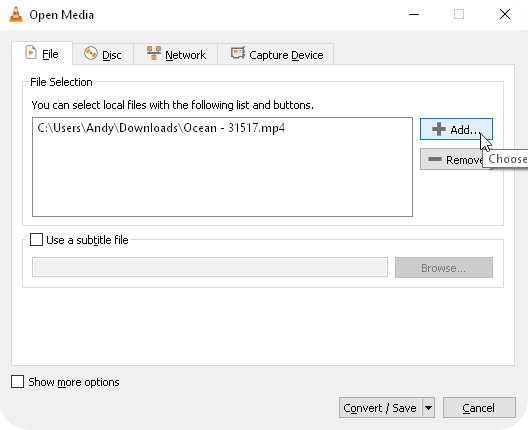
Choose the ‘Add’ button to select your file that is already open or choose one if it’s not there.
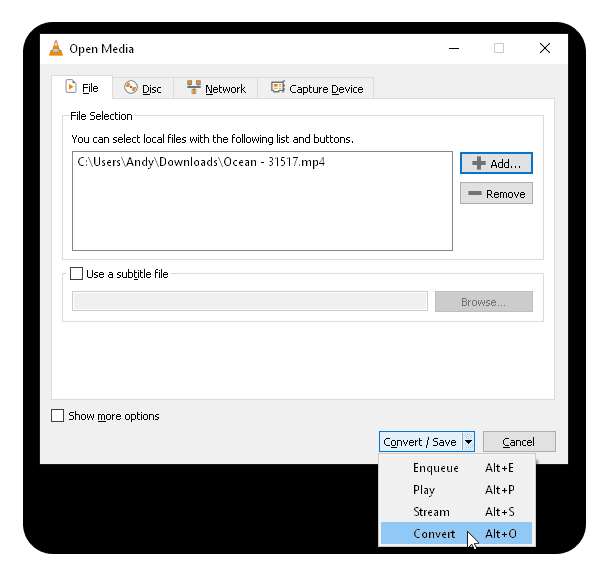
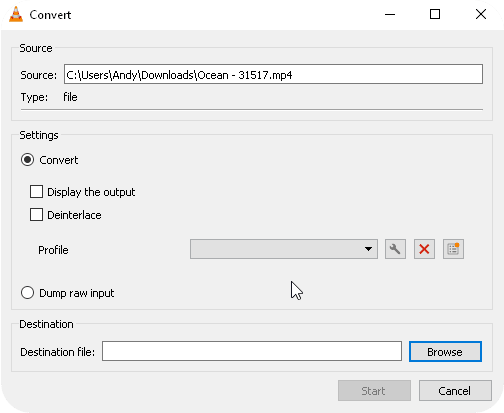
In the lower right-hand corner use the drop-down menu icon where it says ‘Convert/Save’ and choose ‘Convert’
Now, to save out your video with drop added, just choose where you want to save it to, rename it if needed and then hit ‘Start’ and your cropped video will be exported ready for you in that location.
That’s it!
For more digital video tips and tricks why not check out my guide to H.264 vs H.265 and which is the right one for your workflow:

If you found this tutorial useful and want to learn more then let me know in the comments below what you would like to learn next.
DigiProTips

