For a more visual experience you can watch the whole tutorial here:
Before we start, if you are new to DaVinci Resolve then you can check out our ‘Getting Started with DaVinci Resolve’ article here.
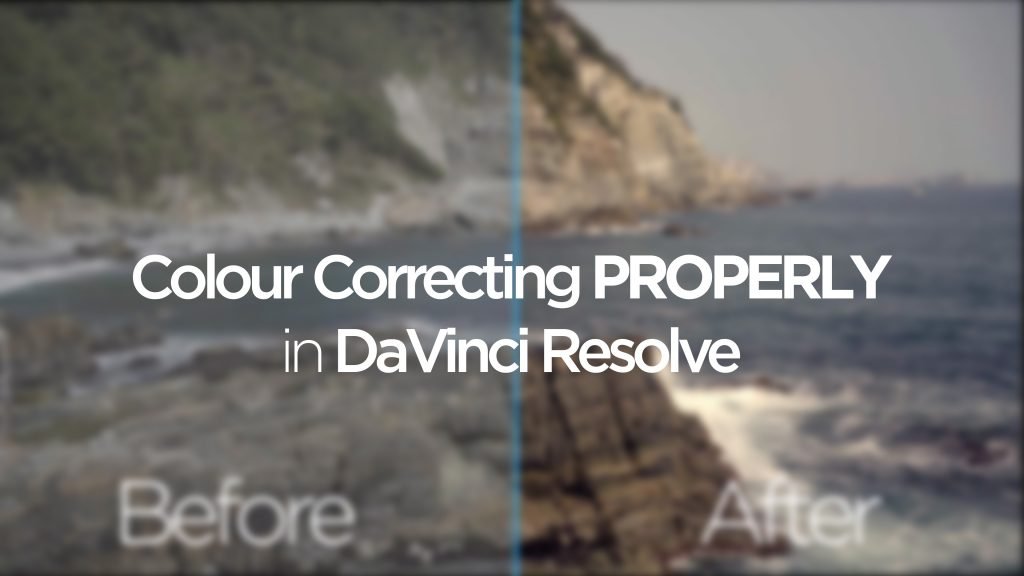
Whether you are starting out as a Videographer or are a seasoned shooter/editor, colour correcting your footage is a must-have skill.
Unless you are on a multi-million dollar film shoot or have a dedicated (and paid) team of professionals to control the lighting, cameras and colour then it’s highly likely that at least some of the shots from your recent shoot or the rushes you’ve been sent by your client don’t look the way that you or they intended.
We’re going to show you the basic correction tools within Da Vinci Resolve to get your footage back to how you intended it to be.
Let’s begin.
For this tutorial we are going to assume that or your client have shot in a flat colour profile, be that S-log, C-log or even RAW. The reason we assume this is because it is much more difficult to adjust/correct footage that already has colour information baked into the image. Flat footage gives you the widest dynamic range to work with in post as all of the colour information is there for you to work with.
When you’re working with compressed DSLR footage and that footage already has a grade naked in from the camera itself then you have very little dynamic range to work with and any correction you do to the footage will likely start to introduce artefacts, tearing or banding.
This brings us on to bit depth and dates rate at which your footage was recorded. The higher quality codec, bit depth and data rate you record at the more room your have to work in post. This does obviously mean that you will use more storage.
For example on our BlackMagicDesign URSA Mini Pro 4.6K cameras we always aim to shoot no lower than ProRes 422 in the film colour space (you can read our review of these cameras here). This gives us high enough quality media to work with in post, preserving detail where we need it but it doesn’t eat through our capture cards as quickly as HQ or RAW would. We can also use the ProRes media as an intermediate in post without any transcoding. ProRes works brilliantly with NLE’s and grading software as an editing format and you would likely be transcoding your AVCHD, MP4 or even MXF files to ProRes to edit with anyway.
Note. BlackMagicDesign have released their own semi-RAW codec called BlackMagic RAW. We will be releasing a review on it soon.
What do you mean when you say ‘correcting’?
The terms colour correction and colour grading are often used interchangeably however, they are two very different things. Colour correction is exactly as it sounds – it’s a correction. Colour grading is the art of applying selective colours, contrast, exposure, saturation, sharpness and vibrance values to an image to change how its represented.
Correcting footage is important as it brings our footage back to a neutral playing field and can match two or more cameras from a shoot with different lenses. From this base point you can start to add your artistic look with a colour grade.
Scopes
‘I’ve heard of scopes before, what are they and why do I need to use them?’
Scopes give us all sorts of information that cannot be seen with the naked eye in the image in front of us. They can tell us the exposure levels of certain points of our image. they can tell us how much of a certain colour is represented at a certain point in our image. They can tell us the hue and they can saturation of an image.
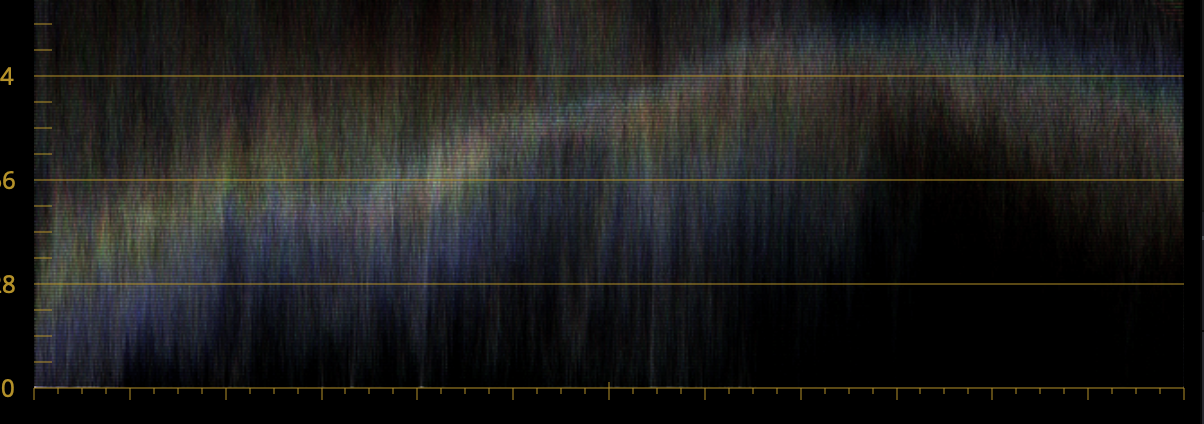
For this tutorial we are going to be using the waveform monitor:
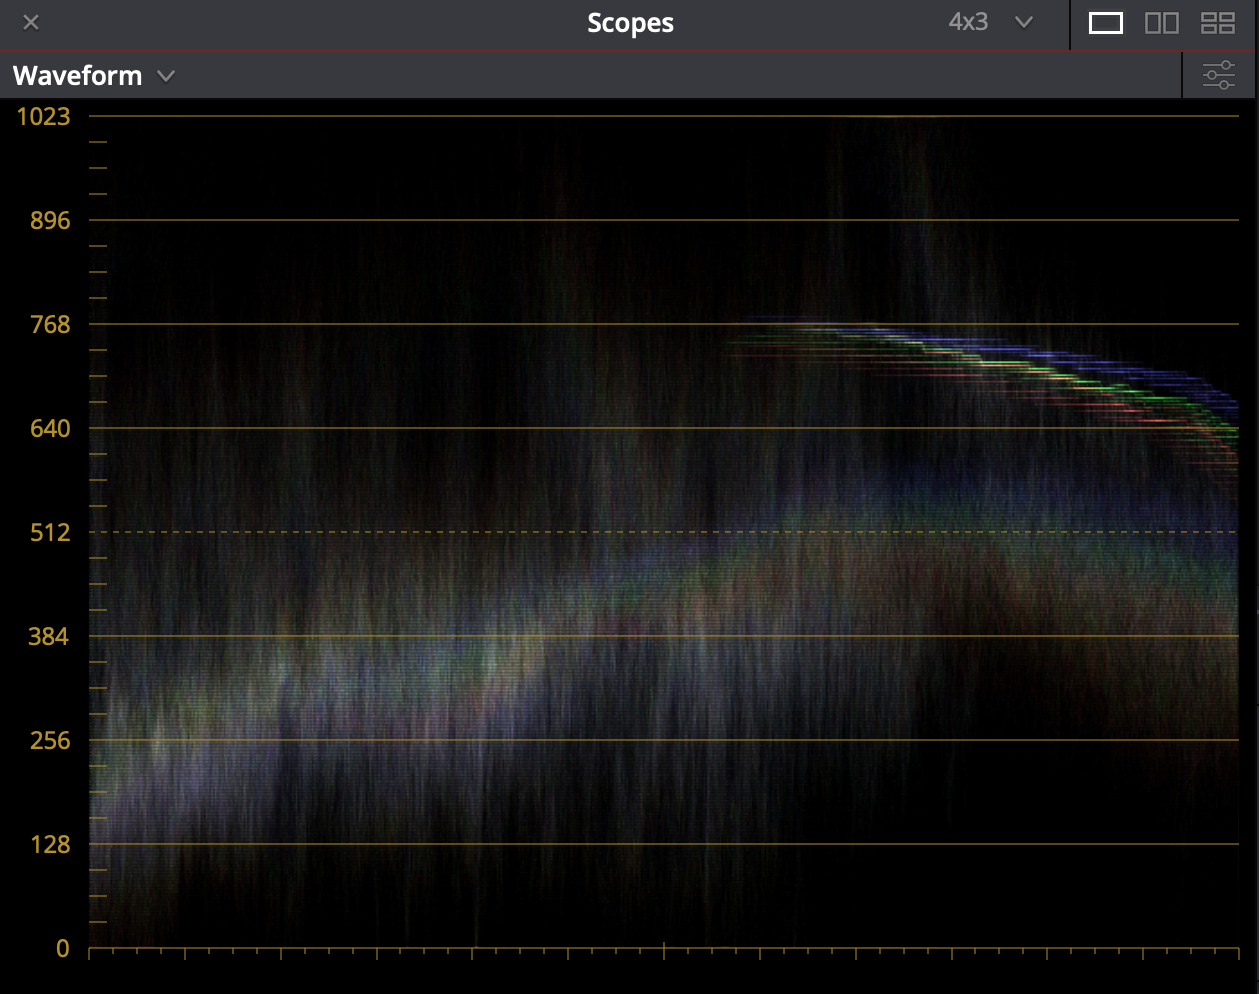
The waveform monitor represents the luma and RGB colour values within your image. Each white/black value and colour is shown on the x axis and the intensity on the y axis.
We are going to use this to manipulate our image to make it ‘correct’.
Colour Wheels
Colour wheels are one of the most useful and important functions within Resolve. The wheels, labelled ‘Lift’, ‘Gamma’, ‘Gain’ and ‘Offset’ afford you the opportunity to manipulate the luma values, hue and saturation of your shadows (lift), midtones (gamma), highlights (gain) and overall balance (offset).
Each wheel has a slider ring underneath it that controls the luma/instensity values of each section it represents. The wheels themselves show the whole hue spectrum and a ‘target head’ that you can use to make refined adjustments.
We are going to start with the shadows (lift). As with all correction, adjusting your shadows and working from that base is the best way to begin.
Black Point
To begin with you need to look at your image and assess if it has a ‘true’ black point. A point within the image that is 100% black under normal circumstances. Shooting flat means your image as it currently stands does not show any areas of true black or white as it has compressed them to give you more dynamic range. You need to make a judgement call as to whether there should be a true black point.
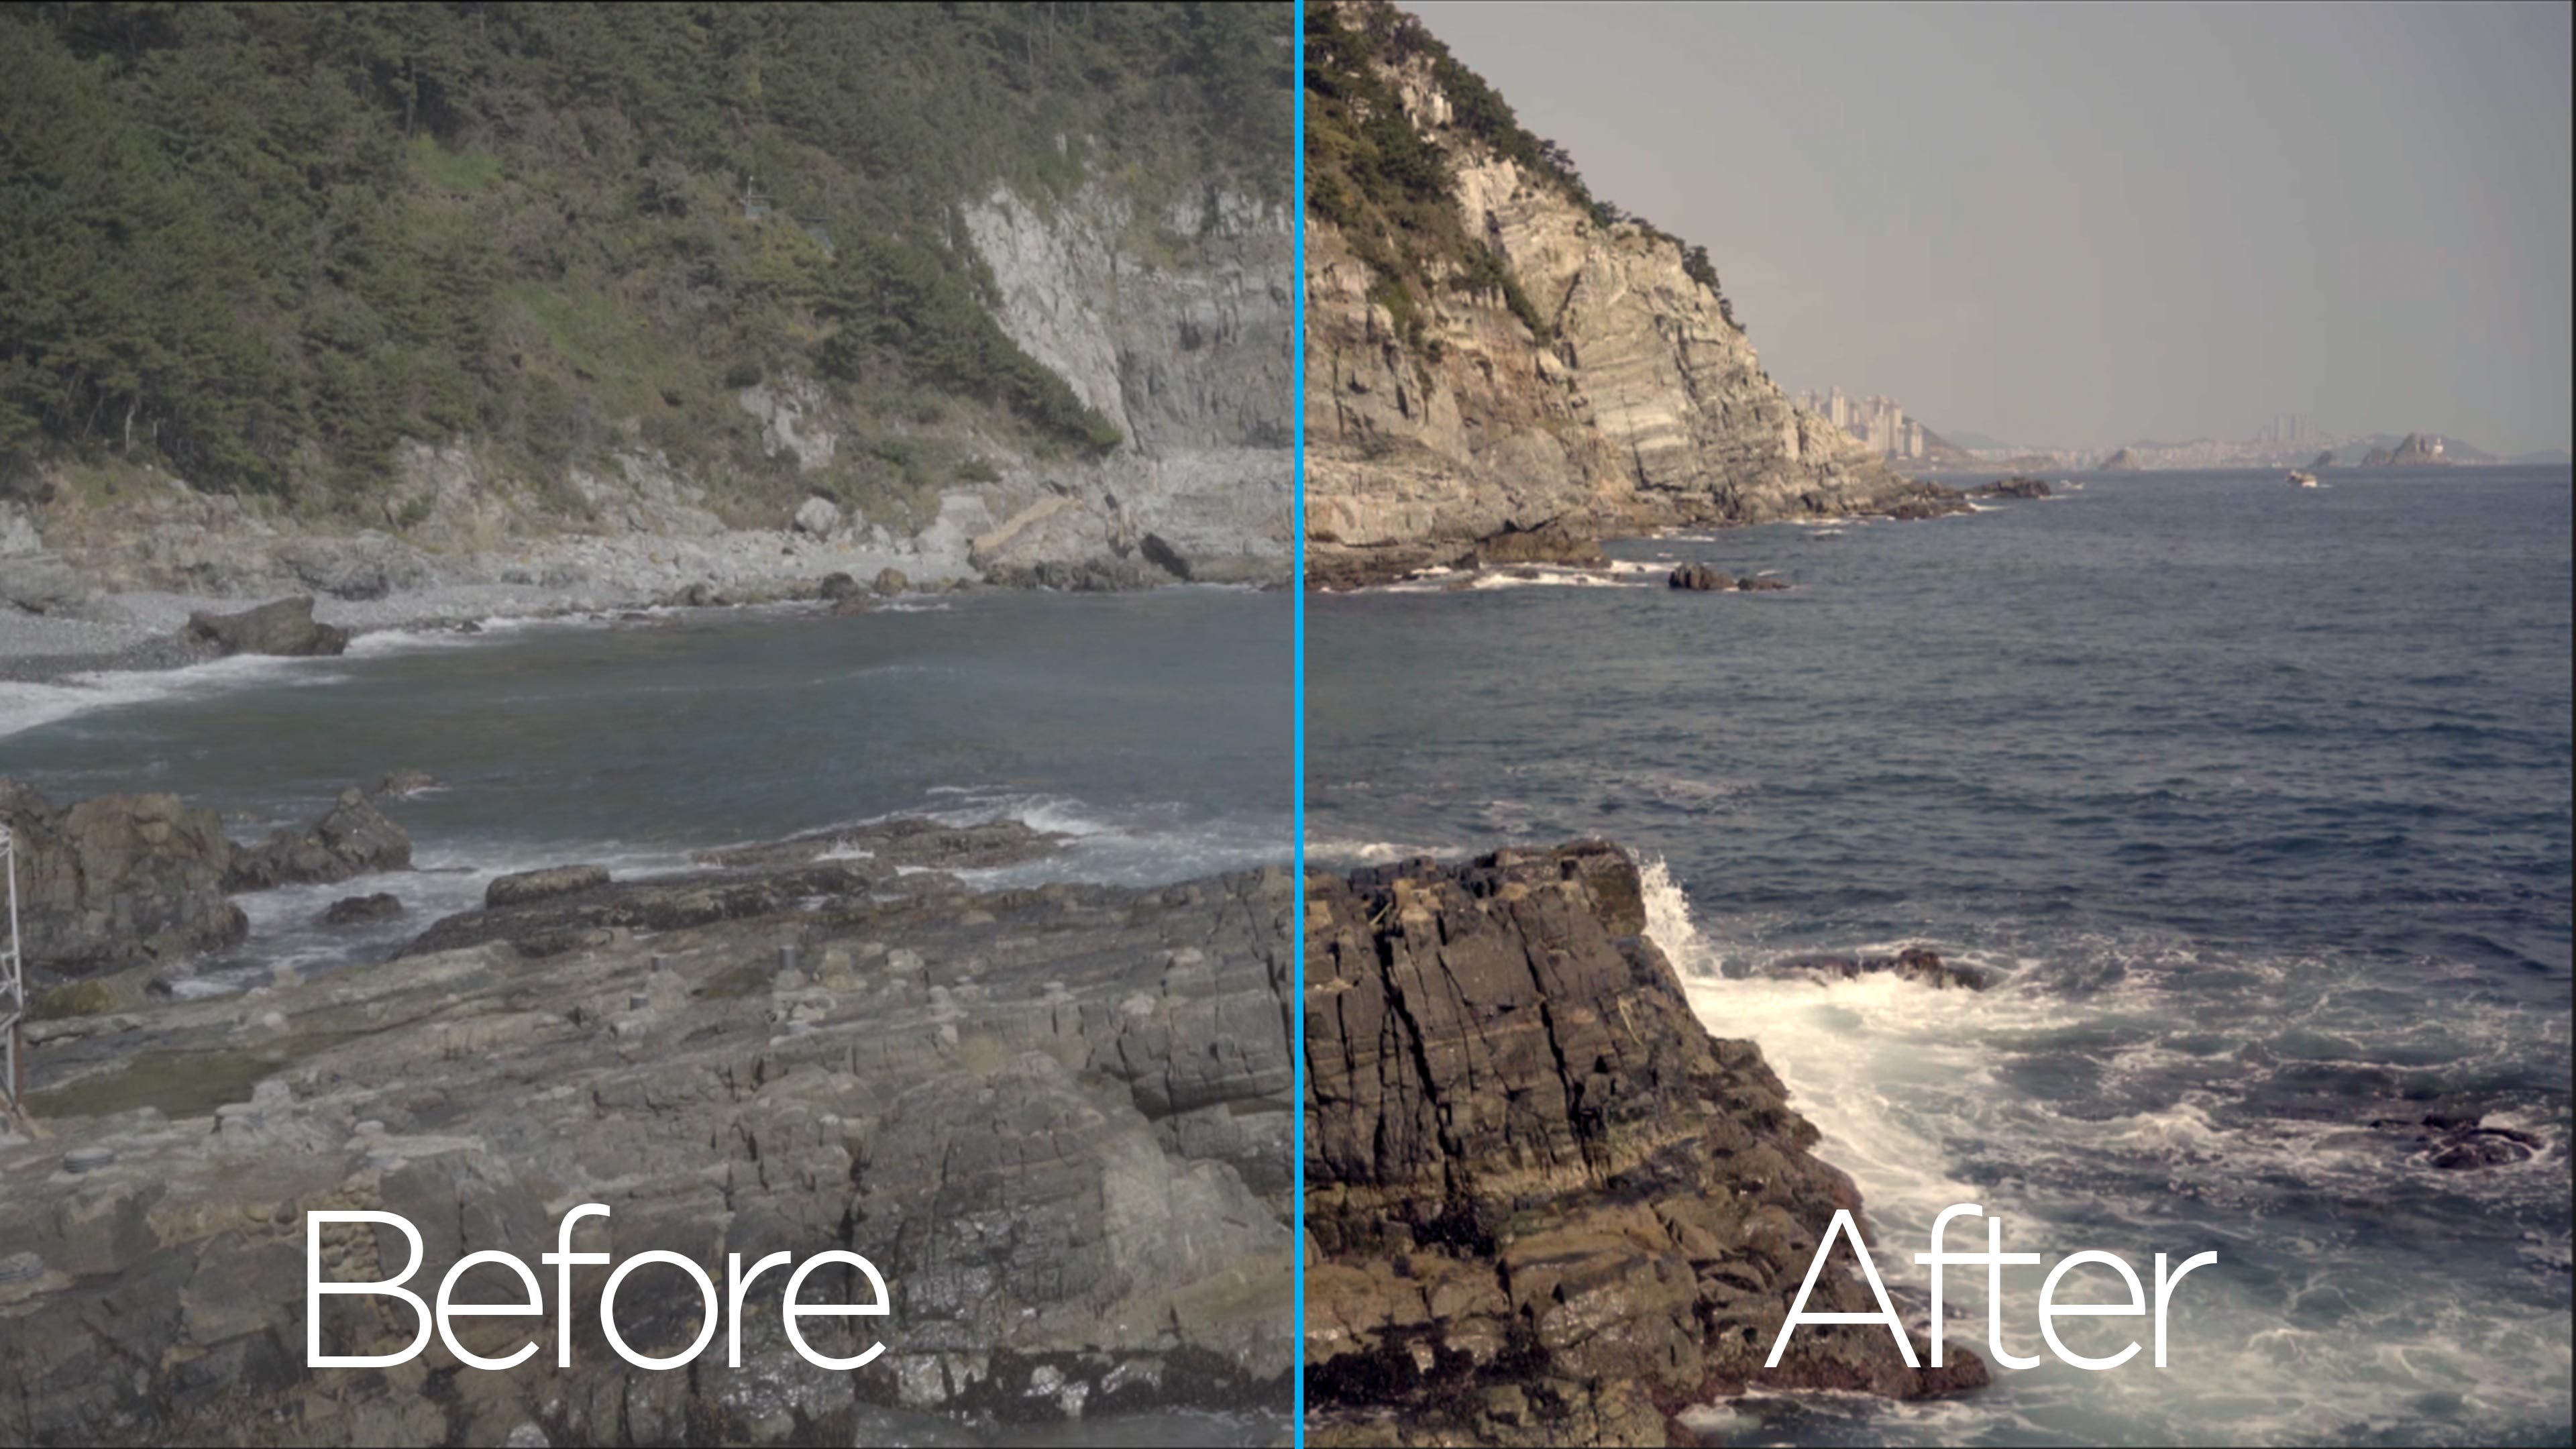
In this image below I can see that underneath the overhangs of the rockface that there would ordinarily be a true black point caused by the shadow of the rock above.
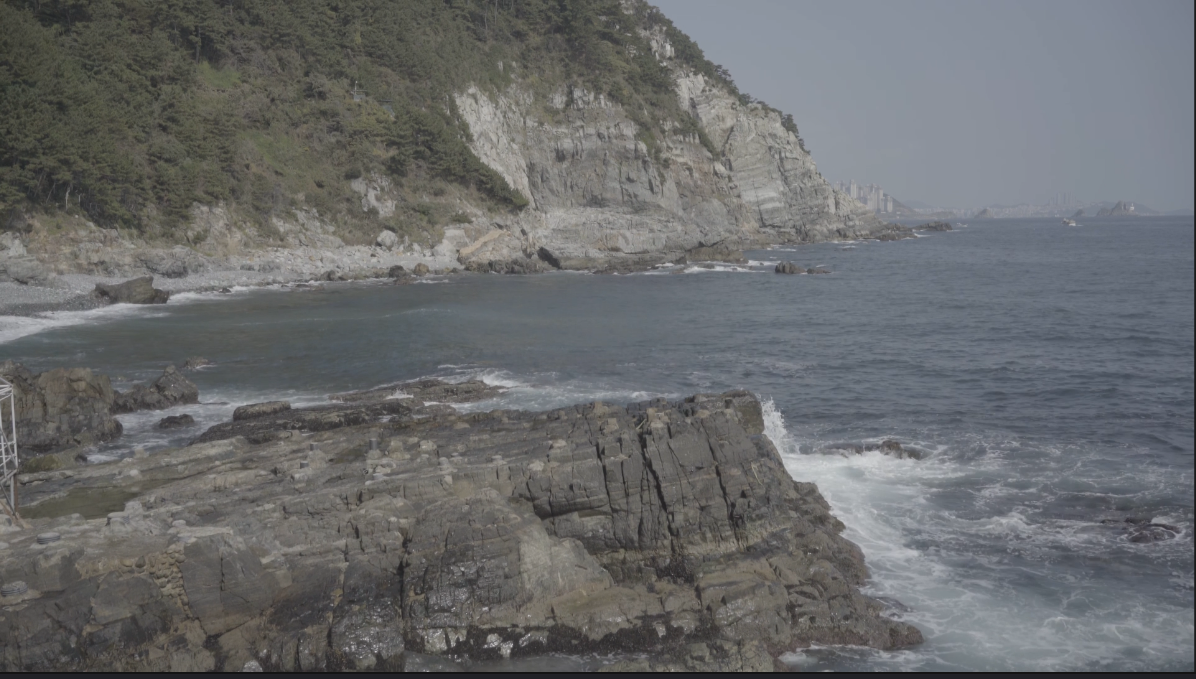
We therefore want to adjust the flat footage to bring back that shadow detail. To do that we grab the slider ring under ‘Lift’ and rotate it left. Using the waveform monitor as a guide you should drop the lowest wave trough to absolute 0 on the y axis.
If you don’t have a true black point then you need to make a judgement call as to what is the darkest part of your frame (you can use the waveform to help you) and drop it as far as feel natural for that image.
Are your shadows balanced?
Once we have our black point we need to correct the colour of the shadows to ensure they are white balanced.
How do we do this?
We need to once again look at the waveform monitor.
You can see that the lower waves of the waveform monitor have a blue hue to them. We need to use the colour wheel target head to make small, subtle adjustments and pull that blue up so that it is balanced with the green and red in the image. If you have done this correctly then your shadows waves will look white instead of blue:
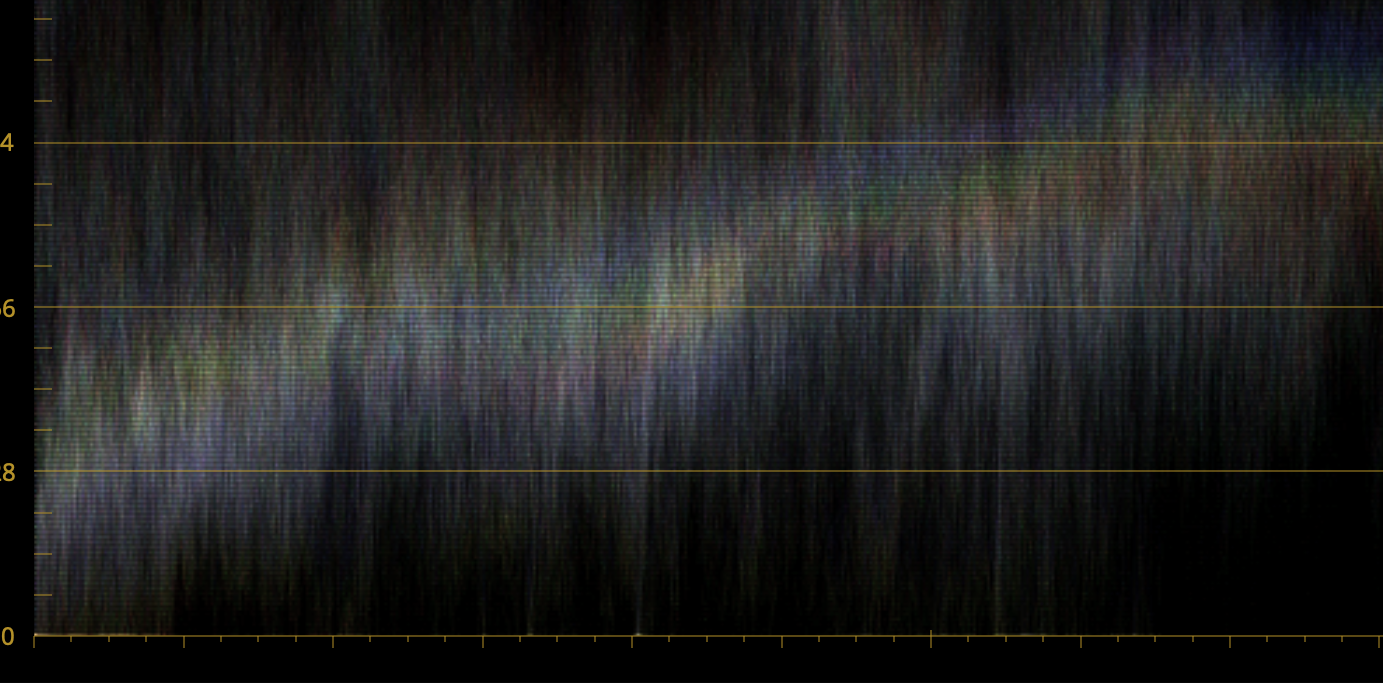
It’s a subtle difference on the waveform but in your image output you should be able to notice the difference.
Lifting Highlights
After are black/shadow levels are set we can do the same for the highlights. This time using the ‘Gain’ controls.
Once shadows and highlights are adjusted and correct for luminance and white balance you can start to dial in the contrast with the ‘Gamma’ and ‘Offset’ slider rings. Remember, you are trying to correct the footage to a natural baseline to workfrom. You are not trying to grade your footage here.
If you have people in your shot and their skin tone isn’t quite right then change waveform monitor to the vectorscope and put a garbage matt around a piece of the talents skin. Then use the colour wheels to ensure the hue of the skin sits on the ‘skin tone line’ of the vectorscope:
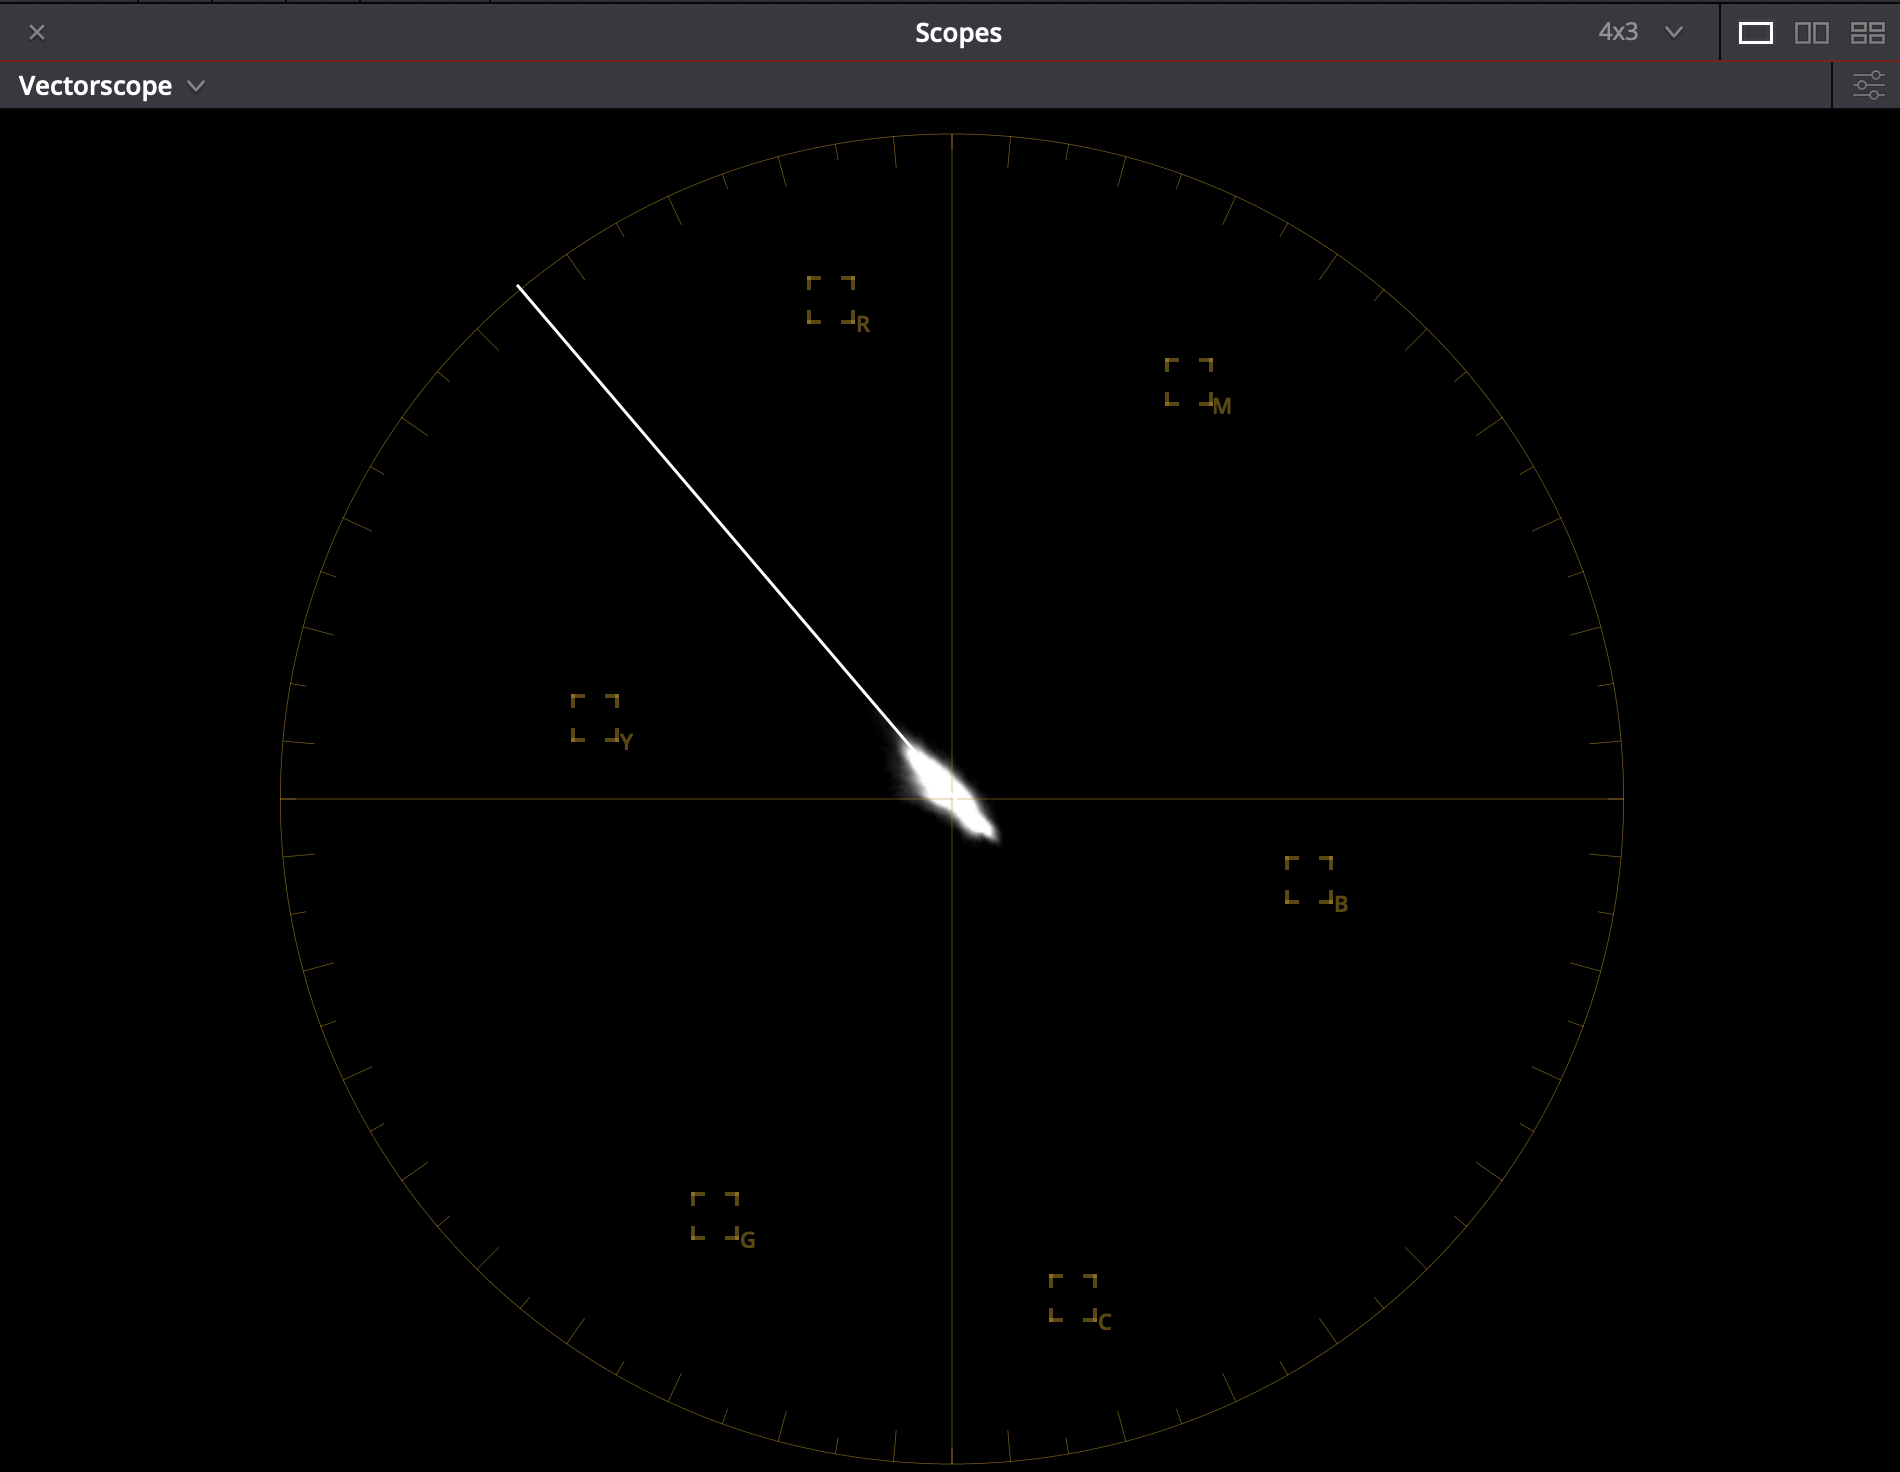
This line is the same no matter what ethnicity you have in your image.
That’s it.
Once you have done all of the above your footage is technically corrected. You can then export LUTs to paste onto the rest of the footage from that location using the same camera in your sequence and also use it as a guide to correct your other camera footage or different locations to match to.
From here you can start to apply an artistic colour grade to your finished edit.
Thanks for reading and remember to like, share and subscribe on the relevant platforms if you want to read/see more.
For more tutorials on color work, check out the Adobe Color Themes extension in After Effects:
DigiProTips