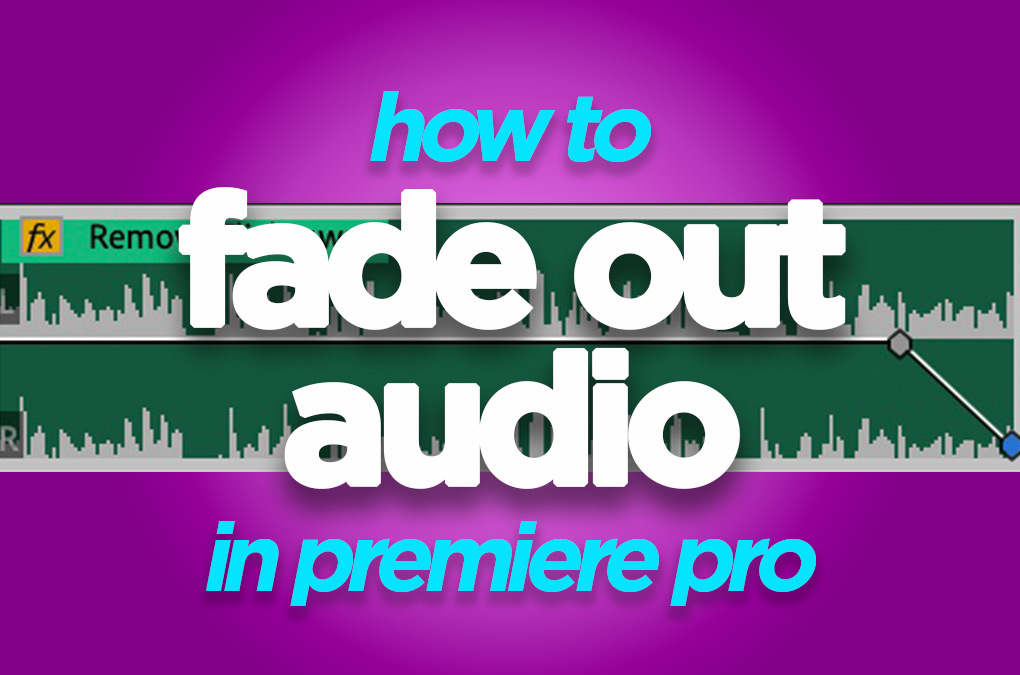
Nobody likes a harsh cut in audio, fading your audio in or out is pretty much always preferable. In this quick article, I’ll show you how to do it easily in Premiere Pro CC.
How to Fade out Audio in Premiere Pro CC
Fading out your music, sound effects (even if it’s just over a frame or two), and voiceovers give your edit a much more pleasing listening experience to your viewer over putting harsh cut points where you want the audio track to finish.
There are a couple of ways to do this, I’ll show you both so that you can pick and choose the approach based on your time and skillset.
How do I know what I’m talking about? Head to the DigiProTips Experience and Background page to find out how I’ve built up my knowledge over a career spanning feature film, broadcast TV and digital content production.
Just before we get to the answers, make sure your timeline is set up and you have your audio selected in the timeline, ready to apply the effect.
The Fast, Automatic Way to Fade Out in Premiere Pro CC
The quickest and most efficient way to fade out is to use the built-in keyboard shortcut in Premiere Pro:
CTRL/CMD + Shift + D
This will add a ‘constant power’ fade to the end of your audio track. You can then trim or expand that fade with your mouse cursor.
Alternatively, you can add the auto fade by going to:
Sequence -> Apply Audio Transition
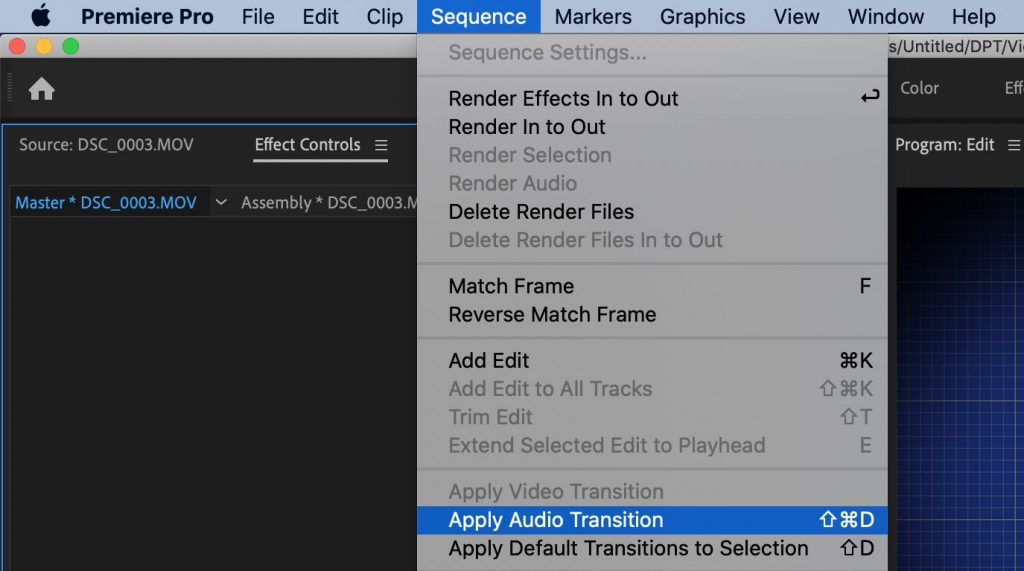
The Creative Approach to Fading Your Audio in Premiere Pro
The automatic constant power crossfade effect is great when you don’t need anything other than to fade at a constant rate.
If you want to have a more dynamic or keyframed fade then you will need to manually do that using keyframes on the clip itself.
To do this, open your audio clip track’s layer so that you can see the keyframe bar at the top of the clip.

Choose the pen tool from the toolbar or press ‘P’ on your keyboard.
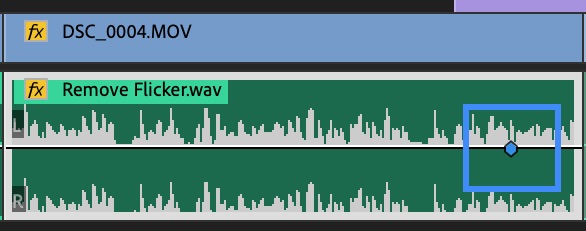
Add a keyframe at the start of your fade and another where you want the fade to finish.
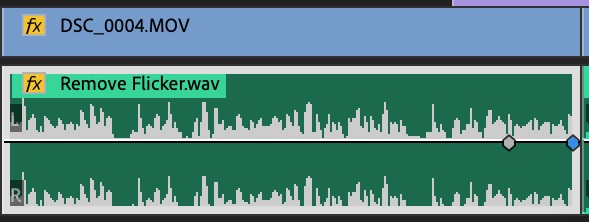
You can then drag the second keyframe down to fade out the clip. You will see the dB change as you drag.
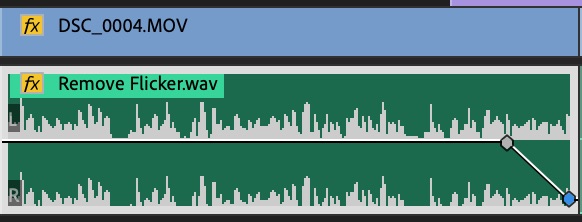
Add more keyframes at different dB levels to add a creative and dynamic fade out on that clip.
That’s it!
There really isn’t much more to know about fade-outs in Premiere Pro. You can choose whichever approach you like to achieve different results in your edit.
It’s worth noting that there is a couple of other automatic fade-out options other than the constant power. There is also ‘exponential fade’ and ‘constant gain’.
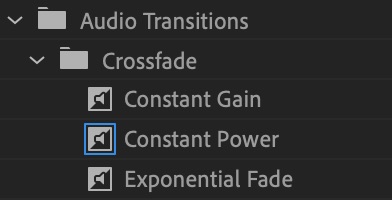
They have different properties for how quickly, and at what dB they fade, so try them and choose whichever works best for your edit.
Or of course, you can keyframe for the perfect fade yourself.
For more Premiere Pro tips, why not check out my tutorial on rendering for a faster editing experience:
Also, some of the most underrated keyboard shortcuts to improve your editing efficiency:

DigiProTips

