Watch The Video
HDR is everywhere, in your camera app, on YouTube, even built into your iPhone.
But here’s the real question: is HDR actually better for your videos than SDR, or just a giant workflow headache?
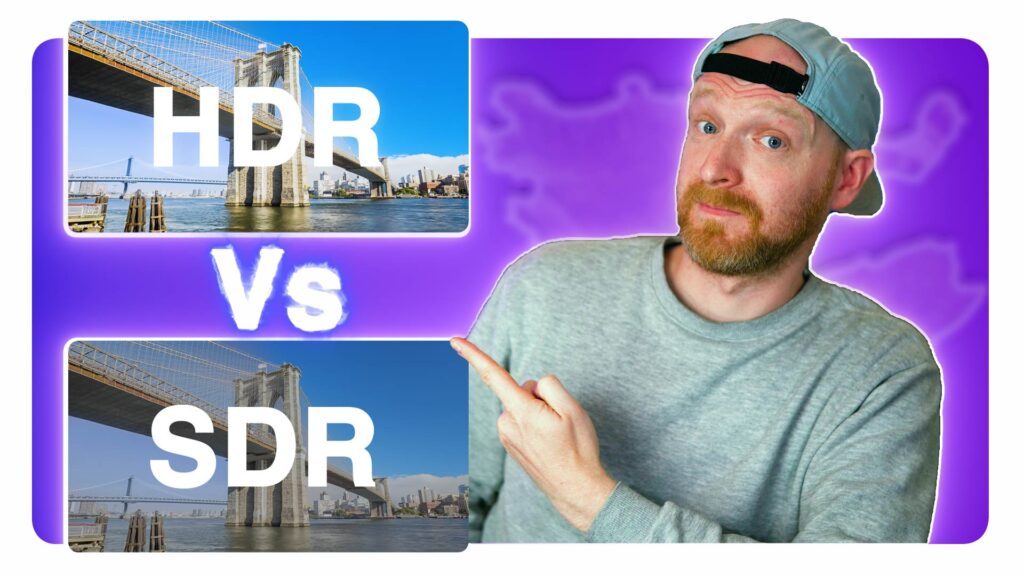
HDR promises brighter highlights, deeper shadows, and richer colors.
But in reality?
Uploading HDR to YouTube can take days, sometimes it never finishes processing… and depending on the screen your audience is watching on, it could look stunning or completely washed out.
Why You’re Here
You want your footage to look better — more cinematic contrast, detail in your skies and shadows, colors that pop.
But all those HDR, HLG, and Log settings on your phone or DSLR don’t explain themselves. And once you upload HDR to YouTube? Results can vary wildly.
I get it. I’ve been working in digital video for over 15 years, testing HDR workflows across cameras, NLEs, and platforms. I can tell you this: HDR can look jaw-dropping… but it can also give you raised black levels, dim images, or weird green shadows if handled incorrectly.
That’s why I put this guide together — so you don’t waste years of trial and error like I did.
Why Most Creators Give Up on HDR
The reason most creators avoid HDR is simple: confusion.
HDR isn’t one single setting — it’s a chain of capture modes, editing workflows, export settings, and playback quirks. If you miss just one link in the chain, your video can look worse than SDR.
But when done right? HDR future-proofs your content and makes it stand out on premium displays.
Level 1: Dynamic Range
Dynamic range = the difference between the darkest blacks and brightest whites your camera/display can show.
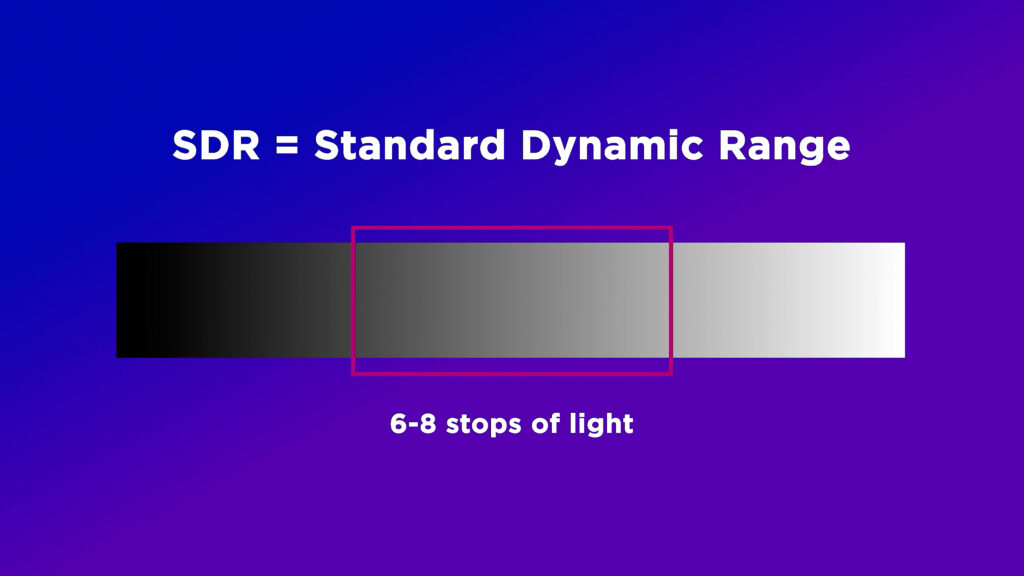
- SDR (Standard Dynamic Range): usually handles 6–8 stops of light.
- HDR (High Dynamic Range): stretches that to 12, 14, sometimes even 18 stops.

Think of filming a sunset:
- In SDR, the sky may blow out into a white blob and the shadows crush to black.
- In HDR, you keep texture in the clouds and detail in the foreground.
Catch: HDR only looks better if the display supports it. On a non-HDR screen, your footage gets remapped to SDR — which sometimes looks the same, or even worse, than if you had just shot SDR from the start.
Level 2: Capturing HDR
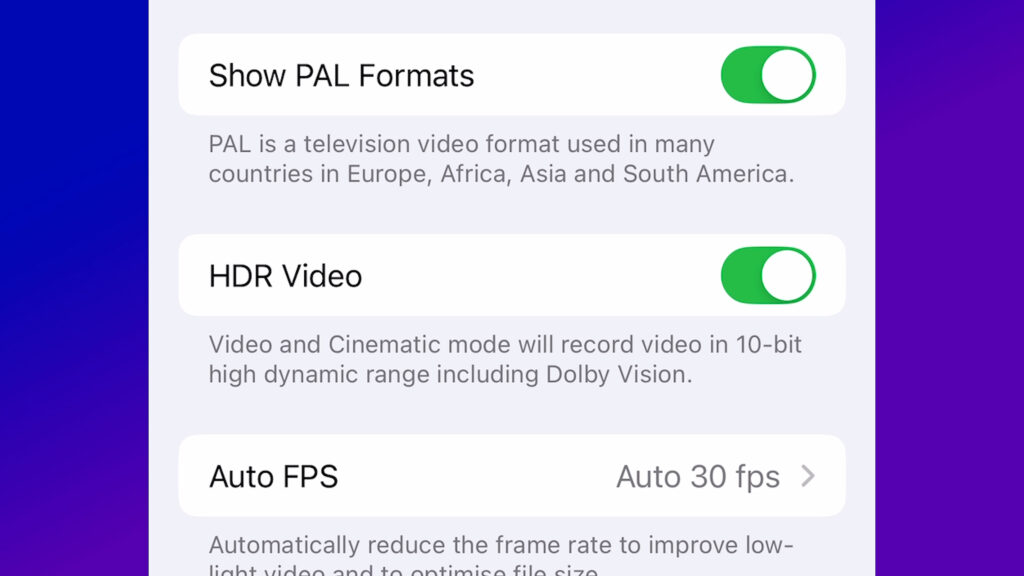
Smartphones
On iPhones, HDR capture is simple — toggle HDR video on in settings and hit record. iPhones usually use Dolby Vision HDR, which looks great on Apple devices but often needs to be interpreted as HLG in editing software for broader compatibility.
Mirrorless & Cinema Cameras
Here it gets trickier. You’ll find options like HLG or Log profiles. These modes capture wider dynamic range (like shooting RAW for video), but require grading in post.
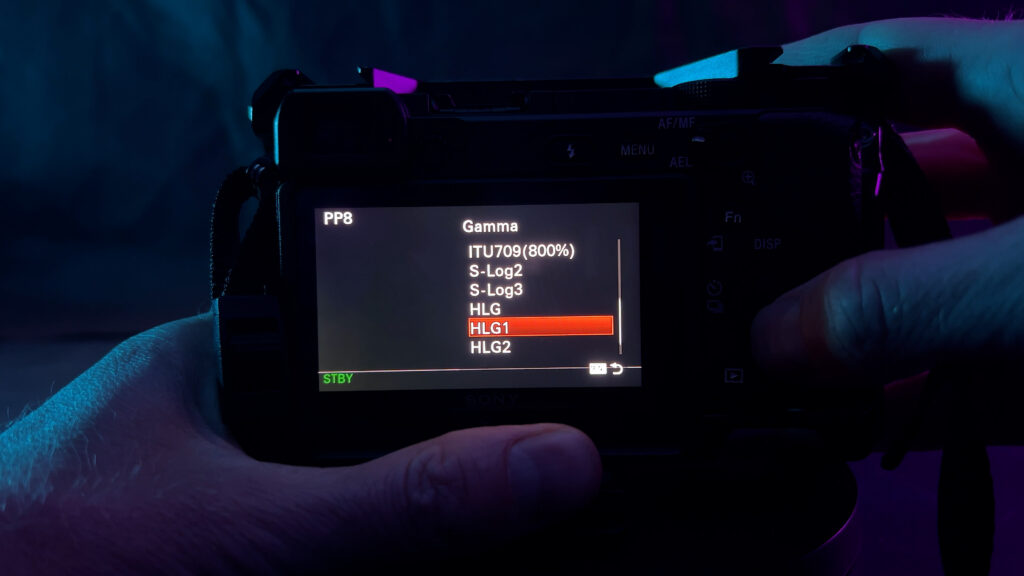
For example: on my Sony camera, I shoot in HLG color space. That gives me highlight/shadow detail but forces me to color grade later.
⚠️ Important: Not all HDR capture is equal. An iPhone HDR clip may look fantastic on Apple devices but washed out elsewhere. Mirrorless/cinema HDR files are larger and heavier to work with — but give you more control.
Level 3: Editing HDR
This is where HDR workflows split.
- Final Cut Pro → Plug-and-play. Drop HDR clips in, you’re ready to go.
- Premiere Pro → More hands-on.
By default, Premiere now Auto Tone Maps HDR clips into SDR timelines so they don’t blow out. But:
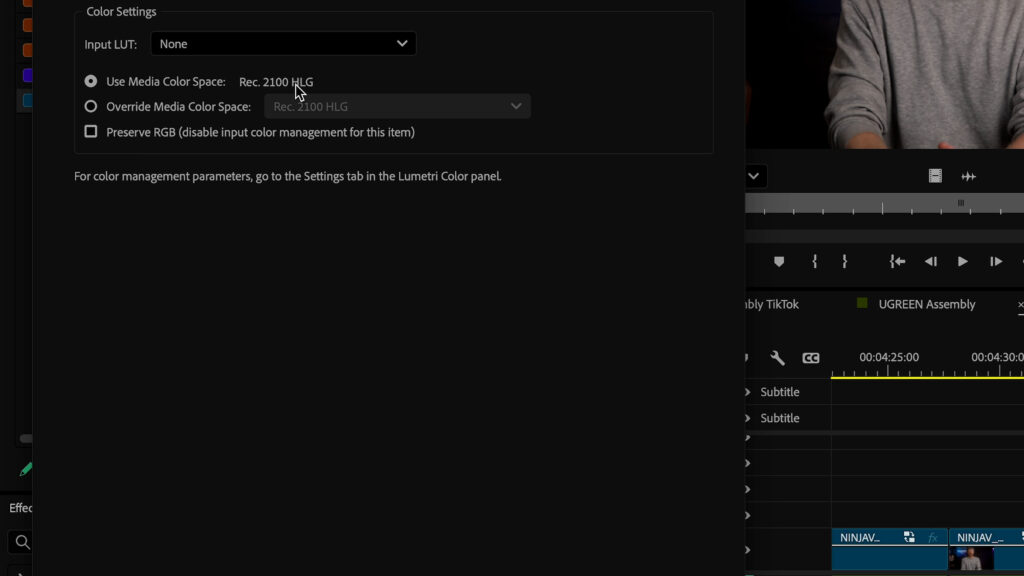
- If your footage looks dim → check
Modify → Interpret Footage → Color Space Overrideand set it to Rec. 2100 HLG. - For After Effects → match your working color space to Premiere, or your graphics won’t align with footage brightness.
You’ll need an HDR-capable display to see true HDR in your edit. Editing on SDR monitors is possible, but you’ll only see the final result on an HDR device.
Heads up: HDR eats storage, hits your GPU hard, and drains laptop batteries quickly.
Final Boss: Exporting & Publishing HDR
In Final Cut Pro:
- Export as H.265, 10-bit, HLG.
In Premiere Pro:
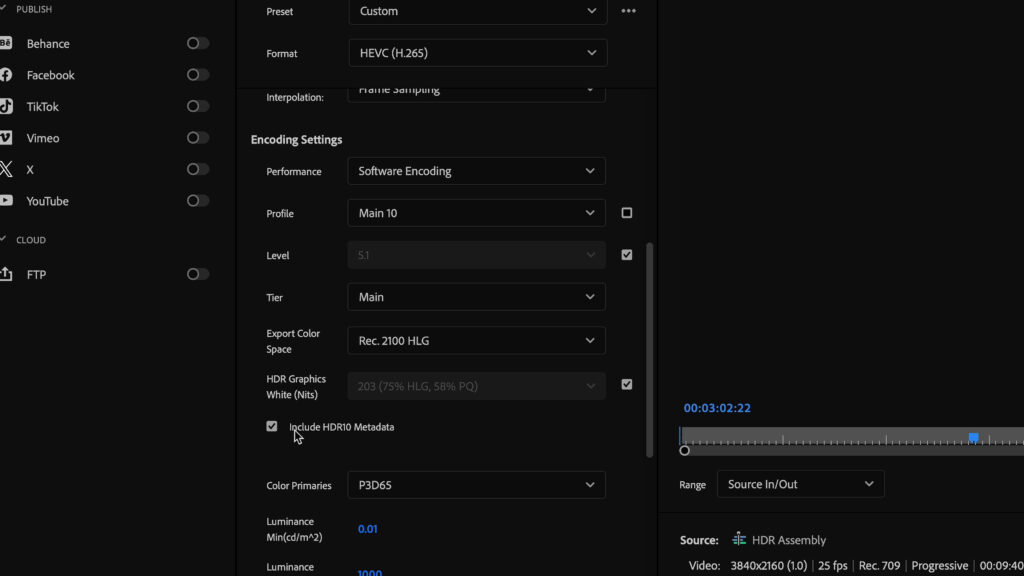
- Avoid H.264 (crushes HDR).
- Use HEVC (H.265), High10 profile, Rec. 2100 HLG.
- For mastering: export ProRes 422 HQ HLG for archiving or finishing.
Mixed SDR + HDR? You’ll need to grade SDR clips to avoid them looking flat.
Pro tip: Some creators round-trip into DaVinci Resolve Studio for final HDR transcodes. Faster, simpler, and gives you both HDR + SDR exports from the same project.
Platform Realities
Here’s where things get messy:
- YouTube → HDR processing is slow and unpredictable. Sometimes 1 hour, sometimes 2 days, sometimes never finishes. No progress bar.
- Instagram Reels → HDR supported instantly! But SDR fallback looks darker — brighten HDR versions slightly for balance.
- YouTube Shorts → No HDR support yet.
- TikTok & TVs → HLG HDR usually fine, but quality depends heavily on the display.
Bonus Level: Is HDR Worth It?
Now you know HDR isn’t just a toggle — it’s a full workflow that affects capture, editing, export, and playback.
- If you’re just starting out → master SDR first. Learn exposure, color calibration, and storytelling.
- If you want maximum quality → HDR can future-proof your content and make it shine on premium screens — but only if you manage the workflow carefully.
After 15 years of shooting, here’s what I’ve learned: HDR isn’t “better” than SDR. It’s a tool. Use SDR when you need simplicity and consistency. Use HDR when you want your visuals to stand out on the best displays.
That’s it. Work smarter, not harder — and choose the workflow that makes your footage shine.
If you want to learn more about videography and get a free 30day guide then check out my video here:

